


Photography Basics 10 – Neutral Density Graduated (ND Grad) Filters
When you’re photographing landscapes or cityscapes where the sky is much brighter than the foreground you’ll either have an overexposed sky or an underexposed foreground (unless you take two images, one exposed for the sky, the other exposed for the foreground and blend them together in software).
However, the reason for this series on photography basics is to help you to take control of your photography and to use your knowledge to get the picture that you want without software. This also means that it’s relevant whether you use a digital camera, a film camera or both.
Using ND grads allows you to see the effect of the filter or filters (you can use more than one) on the final picture before you press the shutter button. There are two types – hard and soft, with the latter being more commonly used.
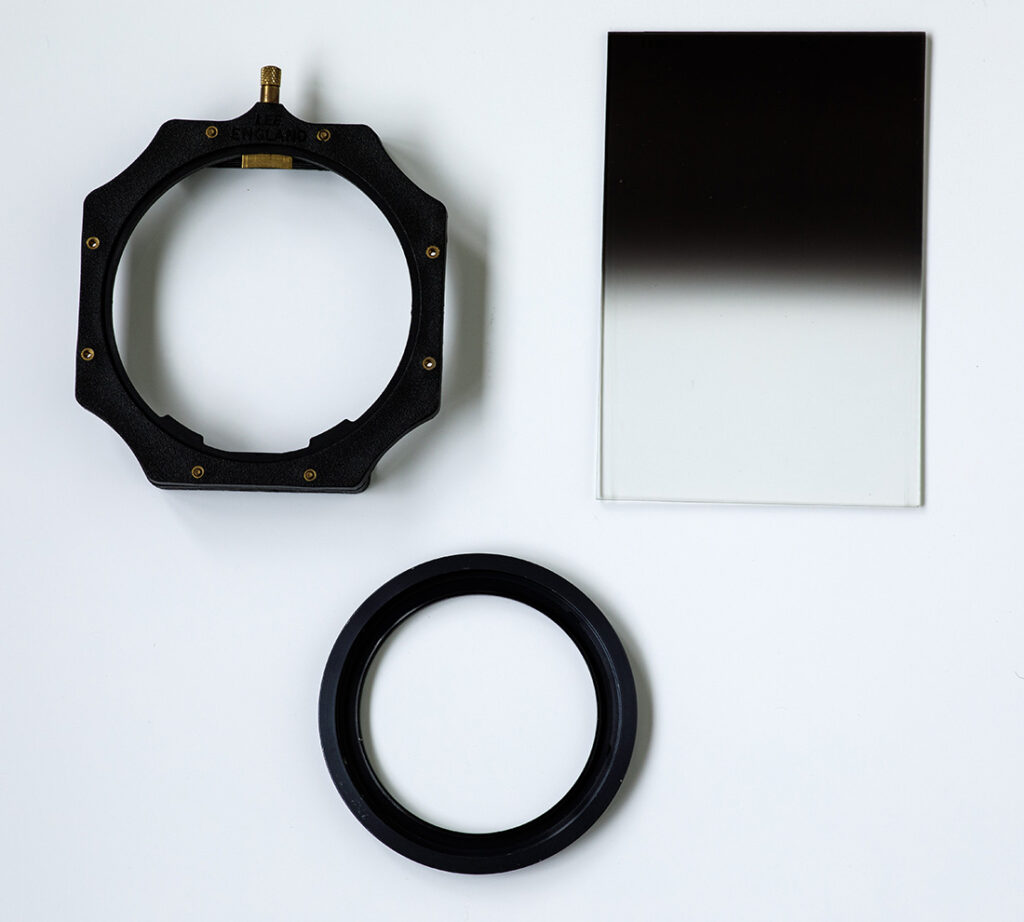
ND grad filters are rectangular pieces of plastic that are half dark and half clear. Hard ND grads are dark at the top and fully transparent at the bottom. They’re used when the horizon is a straight line such as in seascapes. On other occasions soft ND grads tend to be used. These are dark at the top but gradually become lighter until the plastic is fully transparent. Both types come in different strengths, so for example a three stop filter is darker than a one stop filter (see Photography Basics 5 for an explanation of what a stop is). A filter holder is attached to the front of the lens via an attachment ring which is screwed into the thread on the lens. The filter is placed in the holder and then you can look through the viewfinder (or on the back of your camera if it’s digital) and move the filter up or down to see the effect.
The first picture shows the component parts of the filter system.
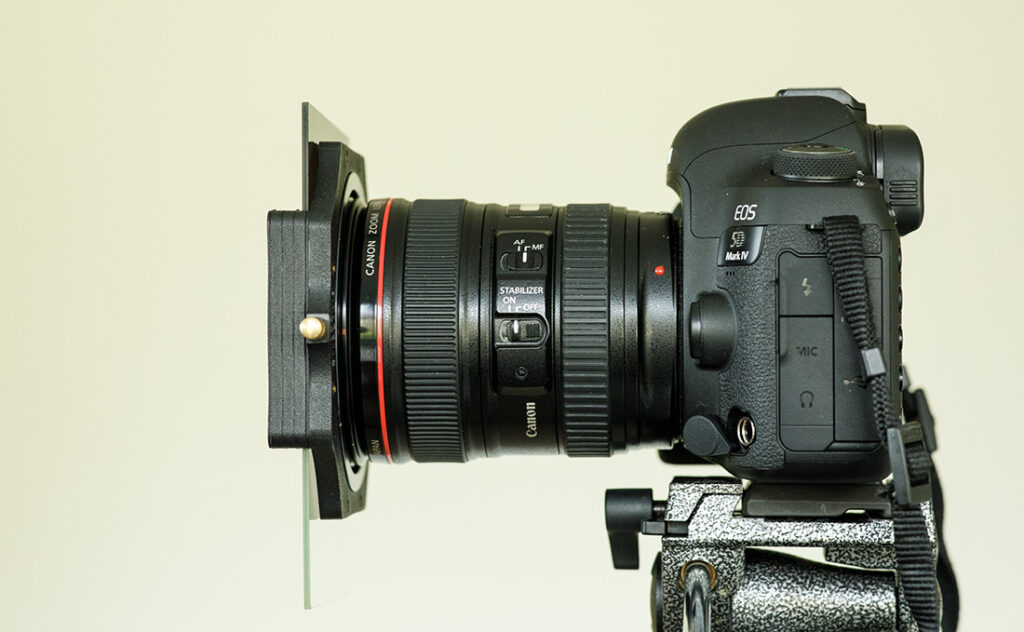
The second shows how it looks on camera.
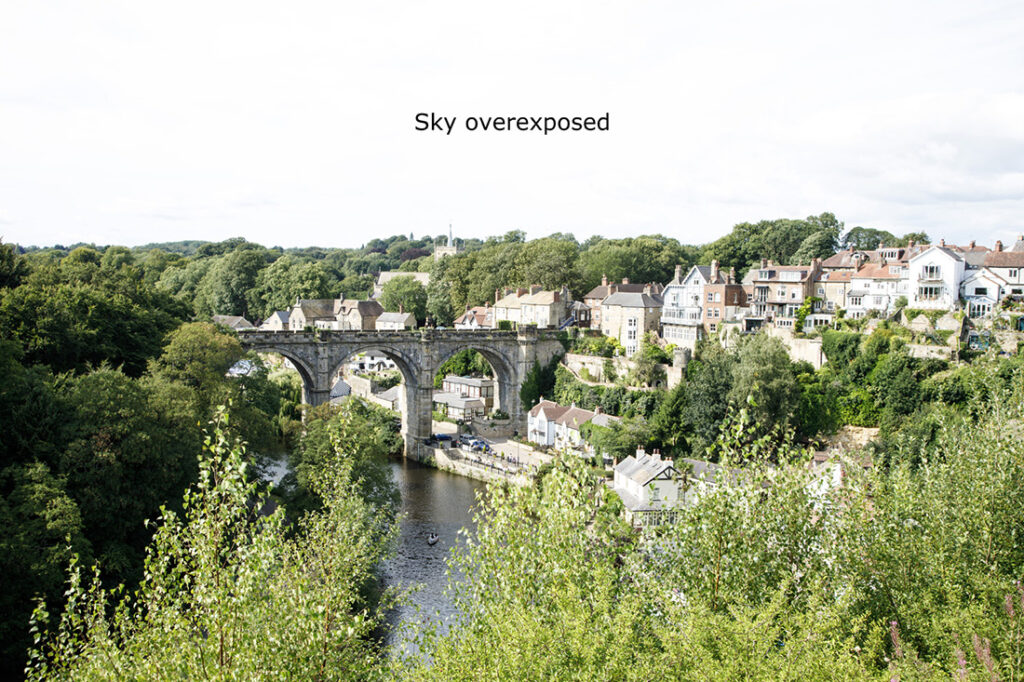
In picture three the foreground is exposed correctly but the sky is overexposed.
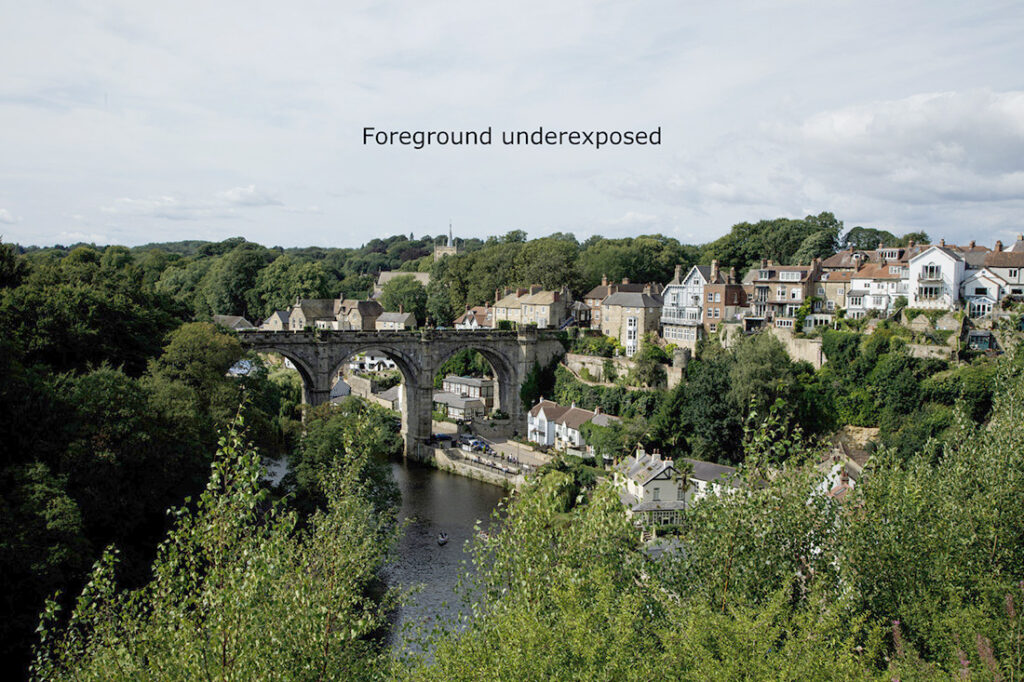
In the fourth the sky is exposed correctly but the foreground is underexposed.
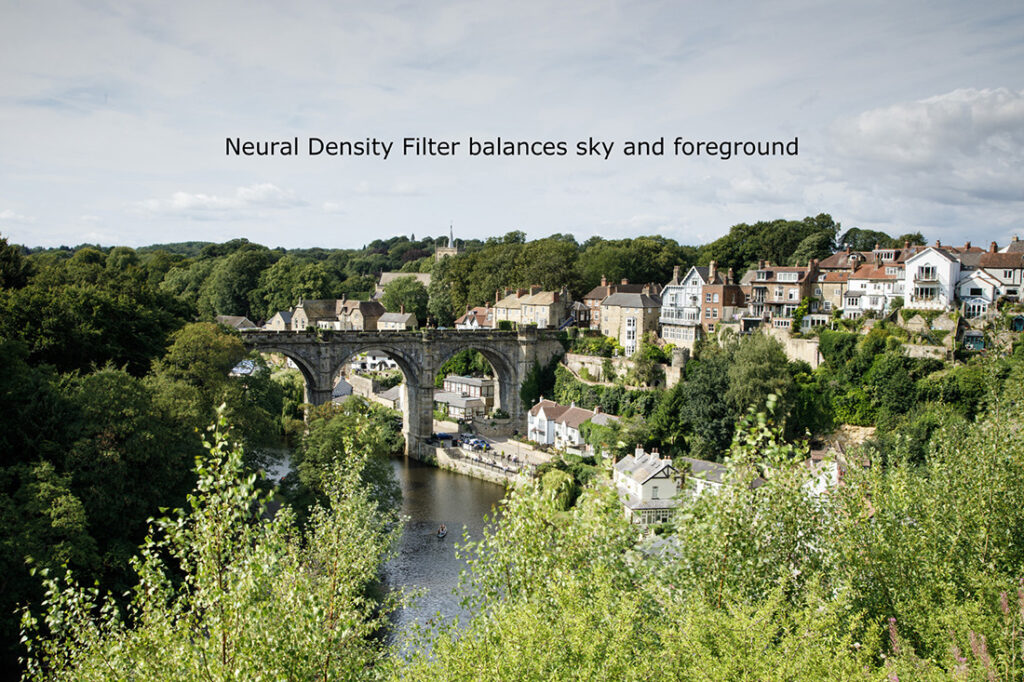
The fifth picture shows how the use of a soft ND grad balances the exposure for both.
If you’d like to know more about this and other aspects of photography there are more details here
lets chat about your perfect image
Get in touch with Antony today to see how you can work together to capture your perfect picture.